facebook pixel
Unilumin Experience Center “Walk Through” Part 2

Unilumin Experience Center “Walk Through” Part 2

On the Road: Unilumin Walk Through with Jason Barak (part2)

The Exertis Broadcast team does a walk through of the N. American Technical Operations & Experience Center in Florida with Jason Barak, VP Strategic Markets at Unilumin USA.

Let our experts find a solution for your project!

Take a look around the Unilumin USA Experience Center (demo center) with the Exertis Broadcast as Jason Barak shows us some equipment, and explains the value of direct view LED, pixel pitches, XR staging, and more for indoor and outdoor direct view LED applications.

Have questions?
Don’t hesitate to call us at Exertis Broadcast. We’re here to help.   415-256-2800

Unilumin Experience Center “Walk Through” Part 1

Unilumin Experience Center “Walk Through” Part 1

On the Road: Unilumin Walk Through with Jason Barak (part1)

The Exertis Broadcast team does a walk through of Unilumin’s North American Technical Operations & Experience Center in Florida with Jason Barak from Unilumin USA.

Let our experts find a solution for your project!

The Unilumin USA Technical Operations facility has just over 36,000 square feet, including 8,000 square feet of office space, about an 1,800 foot Experience Center, and the remainder is all warehouse and technical operations.

Unilumin direct view LED is repaired, tested, and more at their Florida facility.

Have questions?
Don’t hesitate to call us at Exertis Broadcast. We’re here to help.   415-256-2800

How to LED the Right Way

How to LED the Right Way

There was a time, not too long ago, when only the largest organizations with the biggest auditoriums could afford a direct view LED video wall. Sure, there were some cheap LED curtains around, and projection was relatively cheap in comparison, but that only made sense if you had room for rear projection – at least, when it comes to onstage use. DV LED has a myriad of uses and is an additive solution perfect for creating an engaging visual experience. DV LED can be used for more than just duplicating content across other screens. It can be used as an extension of the lighting and staging design to extend content across the stage.

Let’s talk about how DV LED works and what you need to be thinking about if you are interested in using a DV LED 3rd screen in your production.
There are 5 components to a DV LED wall.
 

  1. LED panels
  2. Video Wall controller
  3. Video wall mounting structure
  4. Video Wall Processor
  5. Video Signal extender

DV LED is a giant TV screen built of small cubes – often referred to as LED Panels. Each panel consists of tiny colored LED (light emitting diodes) bulbs that, when used together, can display video. Think of a tightly packed “Lite Bright” –  for those of you old enough to remember. DV LED is constructed using dozens of these cubes stacked on top of each other like Legos until you have a wall large enough to fill the space.

Each panel is defined by it’s pixel pitch, which is the space between each diode on the panel – measured in millimeters. Typically, manufacturers will market them in configures based on this measurement.

Each panel of your DV LED wall is not a separate TV. It’s a section of the overall image. Each panel only displays a few hundred pixels of your overall image, and the image quality improves the lower your pixel pitch. An HD video signal is made of 2,073,600 pixels in total, and you need that many LEDs just to create an HD video wall. Try doing the math on 4K Video Wall and you will understand why prices on video walls increase the lower the pixel pitch is. Each of these panels has a controller card built into it, that is communicating with a master controller box called an LED video controller. This is the box that takes your video source and maps sections of it to each panel of your video wall.

The resolution of your video wall will be determined by the pixel pitch chosen which determines the size of your video wall. As you can see here, each color of panel represents a different pixel pitch, but each config is the same resolution. The difference is how close the pixels are packed together on each panel, which allows the wall to be larger or smaller without changing the resolution. What matters most is how far your audience is from the screen. As you get closer to the wall, there is a point in which your eyes can see the space between the pixels. Each millimeter of distance between pixels equates to 8-12 feet of optimal audience viewing. So, a 2.5 mm wall has an optimal viewing distance of roughly 25 feet. This is where you can save the most money on your wall. Pick the pixel pitch that matches your audience before you pick the size. Typically, the price goes down the larger the pitch, but keep in mind that the resolution will also go down. Before you jump into thinking your wall needs to be 4k in resolution – trust me, it doesn’t. In fact, most audiences won’t be able to tell the difference between a 1080p and 4K video wall in most viewing cases. With a larger pixel pitch, you can create a larger wall and fill more of the space on the stage, without spending the extra money on a smaller pixel pitch.

Let’s think about the mounting structures. A mounting structure is one of the most important aspects of your DV LED wall. Walls can be flown, or walls can be mounted permanently. For hanging walls, a structure strong and sturdy enough to hold roughly 64 panels at nearly 700 lbs is a requirement. The same holds true for installed walls. The wall you choose must be completely flat and level, or the individual pixels of the wall will drift and bend creating what’s called the “Christmas tree effect”, where jagged edges affect the integrity of your image’s lines. The structure may cost more than you expect, but a bad

mounting structure can make even the most expensive LED wall look bad. Don’t skimp on this aspect of your install; this is where I’d always advise you to seek professional help and not try to install it yourself.

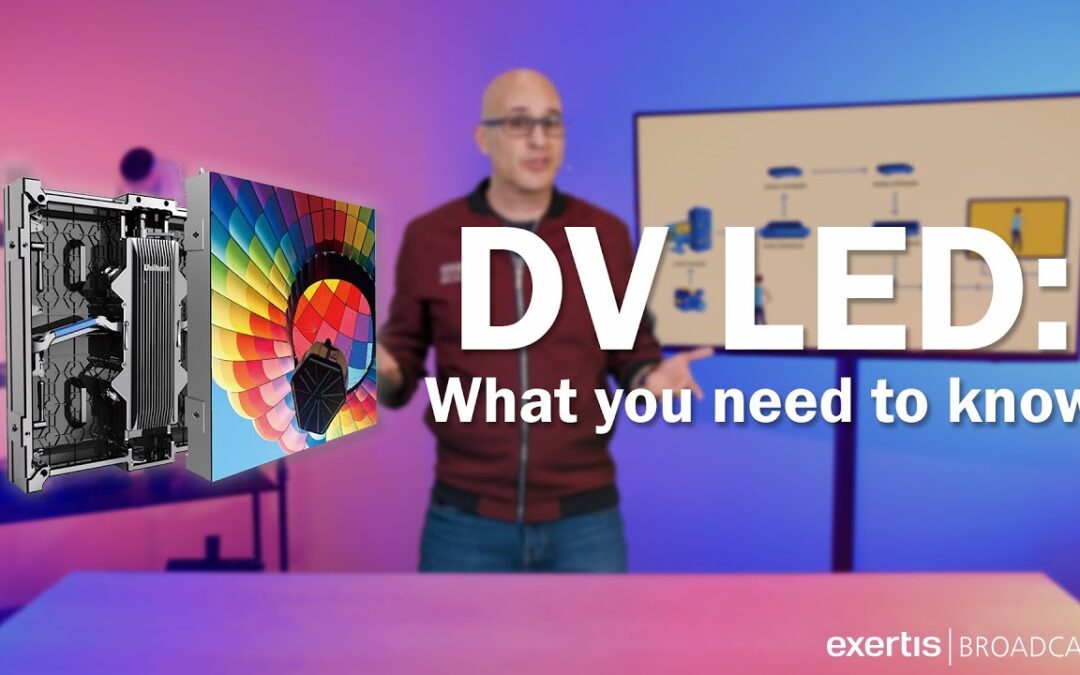
Next, is the video wall processor. This device takes the video source coming from your production output and conforms it to your DV LED wall. Let say you’ve chosen a wall that’s not quite 1080p in resolution – since you took my earlier advice and went larger instead of denser. In this case, you will need to scale your sources to match the walls resolution. A processor is needed as the controller, mentioned earlier, rarely has one built in. If you choose to have more than one source on the wall at the same time, you may need a processor that can support PIP or image manipulation. In either case, plan on making room in your budget for an image processor to make sure your video wall looks it’s best.

Lastly, we come to the video signal extender. In most cases, your production system is not directly next to your video wall. Your production happens on the other end of the room, or maybe in a different room entirely. Depending on the distance and I/O of both your production and video wall controller, video quality can degrade over long distances and your output signal to your video wall will not look as sharp as it does on your production monitor. To make up for the distance between your production and your video wall processor, you will need to invest in a signal extender which will take your output signals from you production and route them to your video wall, all without losing video quality.

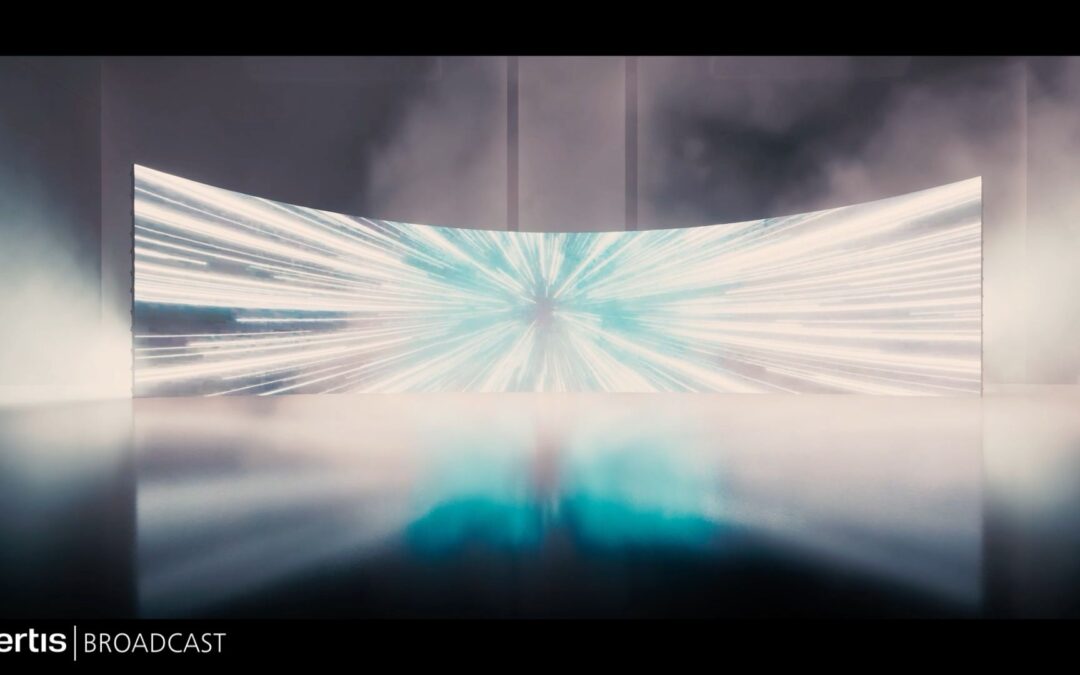
By investing in Direct View LED, your team will have more opportunities to create innovative content that is an engaging visual experience for your viewers. So, if you’re in the market for a visual upgrade, consider Direct View LED technology! Once you see it in your space, you won’t want to go back!

Experience the Power of XR

Experience the Power of XR

XR Filmmaking Market Trends

XR Filmaking is a part of the global extended reality (XR) market growth trend which attained an overall valuation of $3,951 million in 2019 and is predicted to progress at a CAGR of 17.13% from 2020 to 2025. XR Filmmaking is seen in the emergence of Virtual Production Studios and XR Stages being utilized in every aspect of film production. Providing a more immersive experience

for viewers and performers alike, XR Video Wall technology produces outstanding film results at reduced virtual stage costs – leading filmmakers and show runners are making LED rigs a permanent part of the production studio.

Contact our experts to learn more!

Advantages of XR LED Display Solutions

money icon

Cost Savings
• Low production cost
• Time-saving
• Shorter investment cycle

video_camera-icon

Efficient Shooting
• Fast scene switching
• Real & virtual free shooting
• Real experience & perception

display-icon

Realistic Effect
• Realistic environment,
light & shadow simulation
• Extended reality screen

Exertis Broadcast color logo


Name(Required)
This field is for validation purposes and should be left unchanged.