facebook pixel
XR Session 4: Lensing & Distance

XR Session 4: Lensing & Distance

In this session, Jordan Friday, senior content manager at Exertis Broadcast, is at the Unilumin Visual Experience Center in Orlando, Florida to share lensing options in XR stage production. The basic filming process can be difficult because it is different for every single XR stage.

One challenge with filming LED as a background is the moiré effect. There are 2 lensing options to avoid the moiré challenge and successfully film with pixels in your background (pixels on pixels) – without having to do pixel replacement with LiDAR for full immersion/Volumetric XR as mentioned in previous sessions.

Let our experts find a solution for your project!

DISTANCE IN XR

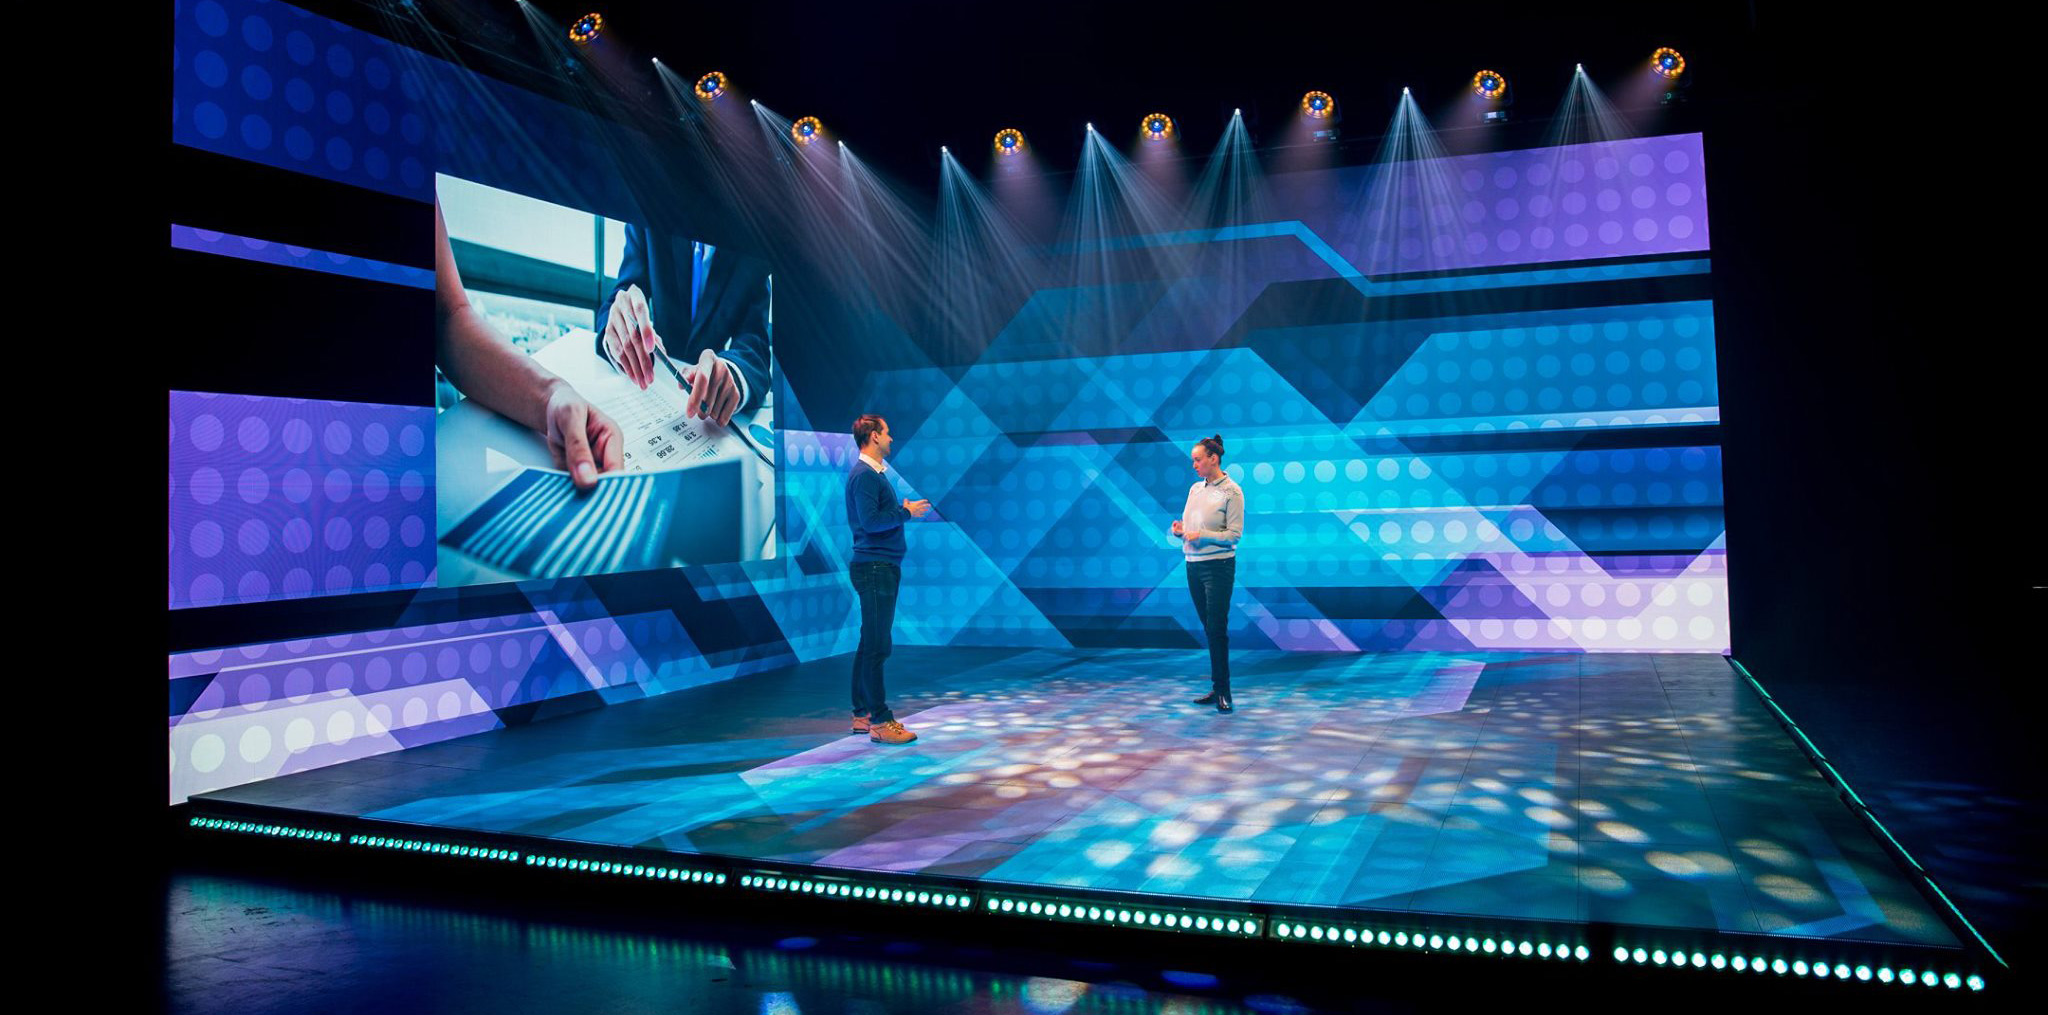
When filming a pixelated background, such as LED, you will see the rectangular pixels begin to turn into trapezoids as you move the camera angle away from straight on. The most common way to make the shoot look like it’s immersive, and to help get rid of the weird squiggly patterns that start to come up on your XR wall the closer you get to it, is by filming as flat (straight on) as you possibly can. Once you start to get off axis, the moiré effect starts to get worse.

If you want to be able to turn the camera and go up or down, then you need a different solution, so that you can go off axis without the moiré issue. One solution is to blur the background with a bokeh effect by moving your talent closer to the camera.

If your wall is large enough, you could resolve the issue by getting both the talent and the camera as far away from the wall as possible. Your camera won’t be able to see the individual pixels so the moiré is gone.
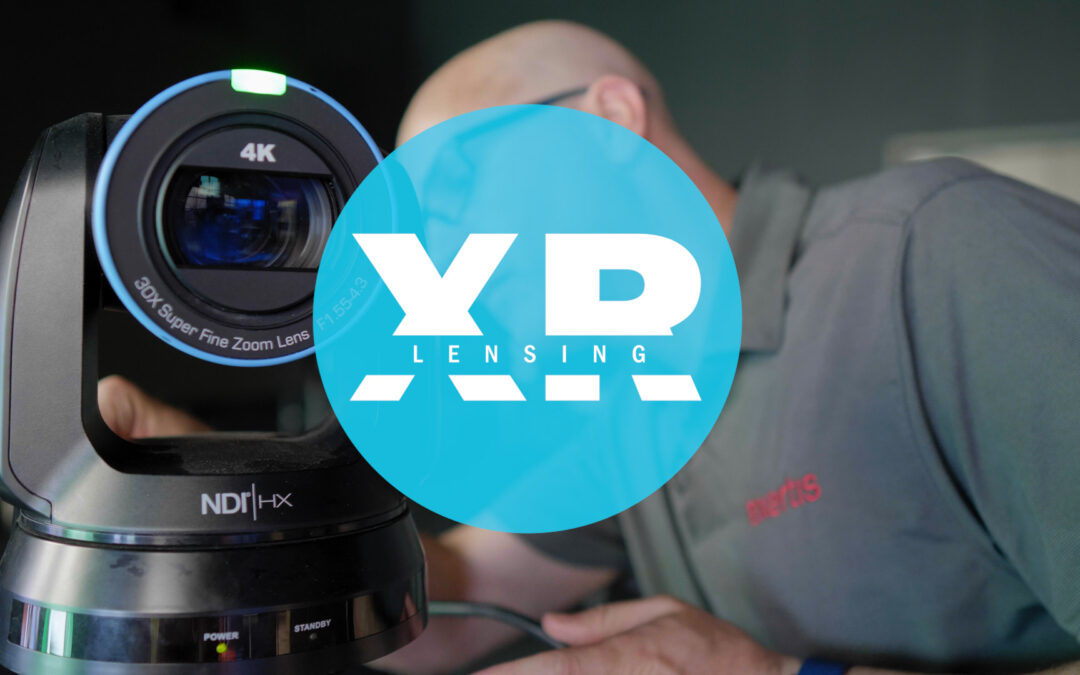
LENSING IN XR

In a multi-cam situation, there are a few lens recommendations for both close in and farther out filming to avoid the problematic moiré patterns.

For close in shots, you can use a 35mm lens, or even a larger 50mm lens, for that bokeh effect on the background.

If you want that farther out look, you could use a 16mm lens, or a wide-angle lens, to keep everything (the talent and background) in focus without moiré because you’re so far away from the LED background wall.

Now, you have our recommendations to kill the moiré effect on both the far away shot and the closer shots.

Learn more about XR solutions at ThePowerOfXR.com

Don’t hesitate to call us at Exertis Broadcast. We’re here to help.   415-256-2800

XR Session 3: NewTek TriCaster Driving XR

XR Session 3: NewTek TriCaster Driving XR

In this session, Nicholas Smith, VP of Technology at Exertis Broadcast, is at the Unilumin facility in Orlando, FL running tests on their XR walls, and discussing the two main categories of XR stage content types – volumetric and backgrounds.

NewTek TriCaster 2 Elite

TriCaster TC2 Elite from NewTek, is the easiest and probably the most common configuration we think people are going to use.

Volumetric XR is when the participant is completely immersed in LED and we’re doing pixel replacement to emulate that person being in a whole different universe, for example, all while they are actually inside a completely virtual space. This is sometimes referred to as “the Cyclorama” or “Cave” style XR stage.

Background or “Window” XR stage is the more film style type of XR where there is a single background LED wall behind the person, and relevant, interesting content is being driven to that LED backdrop – replacing the green screen.

Let our experts find a solution for your project!

For the simple background instance, we need to consider where we have this backdrop, what type of content we want to drive, how we want to drive it, and what all does that require to achieve.

To produce a real world XR stage, we need to have the camera, the content, and the screen all in sync or genlocked together.

If we’re driving content such as video or virtual sets, we can use a software like Chryon, Disguise, or VizRT to do that for a simple background.

The TriCaster TC2 Elite from NewTek, is the easiest and probably the most common configuration we think people are going to use. With the TriCaster, you’re driving your Virtual Sets onto the LED wall, or you’re creating content through the TriCaster – so you get a playback device simultaneously. We can bring the camera in on another ME and record the final composite. Then, add additional graphics to it – making a very nice compact footprint for creating an XR stage to perform elegant green screen replacements.

So again, we need to have our wall, our TriCaster, and our camera all synchronized over genlock – allowing for a seamless XR production experience.

Learn more about XR solutions at ThePowerOfXR.com

Don’t hesitate to call us at Exertis Broadcast. We’re here to help.   415-256-2800

XR Session 2: LED Floors

XR Session 2: LED Floors

There are a few types of XR production. One of the most common is the traditional backdrop – greenscreen replacement. Another type of XR staging is a full immersion experience that completely envelopes the talent or the actor in dvLED – including the walls behind and the floor below.

XR floors are made with LED panels that have a special surface coating that allows talent to walk on it.

When considering the full immersion XR set up, we must factor in the software that’s driving the dvLED walls and creation of the content we’re putting on it. The video content for the XR Stage might just be

flooring or textures, or we might be completely enveloping the talent in a whole other universe. Either way, when looking at LED XR staging, a few things to consider are: the area in which we’re putting all this LED, the content we’re driving on to it, and the software, of course, that’s going to run it.

Let our experts find a solution for your project!

With an added motion tracking system and virtual set software, you can take your production beyond single-angle shoots and completely immerse your subject in whatever environment you wish. This technique is called XR, OR EXTENDED REALITY.

Your set can be extended beyond the physical limits of your stage as well, as many XR software solutions include live tracking of subjects (and props) that occlude the screen. Your talent will be able to see set extensions and 3D objects on the LED walls (also called faces) around and below them if the wall you choose has an LED floor.

Learn more about XR solutions at ThePowerOfXR.com

Don’t hesitate to call us at Exertis Broadcast. We’re here to help.   415-256-2800

XR Session 1: Unreal Engine & 3D Tracking

XR Session 1: Unreal Engine & 3D Tracking

XR video walls are where modern film and television production are going with the use of an LED backdrop, rather than a green screen backdrop.

Green screen technology has been used for years to create all kinds of special effects where we can take an actor and put them in any place in the world that we want. However, with green screen, we have after effect compositing that we must deal with such as green spill or blue spill, depending on what kind of wall using.
A lot of work goes into creating green screen effects, but with an XR video stage, like the examples in the video, it’s instantaneous – in real time.

Let our experts find a solution for your project!

Unilumin Unano
Unilumin Unano

Narrow pixel pitch for rental or fixed installations. The built-in edge protection allows for rapid and durable assembly and disassembly. The purposeful 8:9 aspect ratio frees up the designers for optimum creativity and flexibility in implementation. The Unano is available in 1.3mm and 1.8mm pixel pitch for best possible imagery in any installation.

In this video, we show a Unilumin Unano video wall being powered by Unreal Engine and tied to the Vive tracking system. This set up has transmitters and a gimbal that is the receiver to tell the Unreal Engine where the camera is so it will shift the video background accordingly.

We realize that many people won’t use this specific set up. If you are in a corporate setting, you probably won’t want to put your CEO in an icy tundra or on another world. In other videos, we’ll explore some alternative solutions, such as the NewTek TriCaster, as well as software elements that can be used to make the wall interactive.

In summary, XR video production enhances the filming experience for everyone involved, and it is also extremely relevant for any corporate environment that you might find yourself in.

Learn more about XR solutions at ThePowerOfXR.com

Don’t hesitate to call us at Exertis Broadcast. We’re here to help.   415-256-2800

How the CatDV MAM can be your next AI employee.

How the CatDV MAM can be your next AI employee.

Logging media content can be a long, arduous task. Sifting through hours of content to tag names and faces before the content is actually needed can also seem like a waste of time and money – until you actually need to find very specific footage. Having a MAM that is AI enabled should be considered your next employee acquisition.
CatDV logo
If you think only large production houses and TV stations need to log their footage, then it’s time to consider “hiring” a MAM to be your next media manager to log your footage and always be ready when the next content request comes in.
CatDV MAM

Churches, corporations, universities, and civic entities all create as much content and even more than your local TV station. The footage created by these organizations is just as important and costly to produce, and it needs to be treated just like the pros. As it is, many of these organizations don’t think they have a need for a MAM. They believe that Media Asset Management software is only for professional broadcasters. Most churches, schools, businesses, and local governments don’t have the staff large enough to manage their creative content – much less, take the time to log it for later use. This is why their next “hire” needs to be an AI-enabled MAM such as CatDV.

CatDV from Quantum is a highly scalable Media Asset Management software with direct hooks into AI platforms that can log, transcribe, and tag images found in all your footage without ever needing to take a human off a project and slow your production schedule down. With CatDV’s automation engine, all that is needed is to point CatDV to your footage and let the software manage, transcode, and log it so that producers can produce and not be focused on media management.

worship-video-editing
MAM = Media Asset Management

Software for asset management – automation and collaboration tools

+ If you are curious…

  • “D” in DAM = Digital
  • “P” in PAM = Product
Is your MAM AI ready?
If not, then its time to consider an upgrade – time to make CatDV your next hire.

How to LED the Right Way

How to LED the Right Way

There was a time, not too long ago, when only the largest organizations with the biggest auditoriums could afford a direct view LED video wall. Sure, there were some cheap LED curtains around, and projection was relatively cheap in comparison, but that only made sense if you had room for rear projection – at least, when it comes to onstage use. DV LED has a myriad of uses and is an additive solution perfect for creating an engaging visual experience. DV LED can be used for more than just duplicating content across other screens. It can be used as an extension of the lighting and staging design to extend content across the stage.

Let’s talk about how DV LED works and what you need to be thinking about if you are interested in using a DV LED 3rd screen in your production.
There are 5 components to a DV LED wall.
 

  1. LED panels
  2. Video Wall controller
  3. Video wall mounting structure
  4. Video Wall Processor
  5. Video Signal extender

DV LED is a giant TV screen built of small cubes – often referred to as LED Panels. Each panel consists of tiny colored LED (light emitting diodes) bulbs that, when used together, can display video. Think of a tightly packed “Lite Bright” –  for those of you old enough to remember. DV LED is constructed using dozens of these cubes stacked on top of each other like Legos until you have a wall large enough to fill the space.

Each panel is defined by it’s pixel pitch, which is the space between each diode on the panel – measured in millimeters. Typically, manufacturers will market them in configures based on this measurement.

Each panel of your DV LED wall is not a separate TV. It’s a section of the overall image. Each panel only displays a few hundred pixels of your overall image, and the image quality improves the lower your pixel pitch. An HD video signal is made of 2,073,600 pixels in total, and you need that many LEDs just to create an HD video wall. Try doing the math on 4K Video Wall and you will understand why prices on video walls increase the lower the pixel pitch is. Each of these panels has a controller card built into it, that is communicating with a master controller box called an LED video controller. This is the box that takes your video source and maps sections of it to each panel of your video wall.

The resolution of your video wall will be determined by the pixel pitch chosen which determines the size of your video wall. As you can see here, each color of panel represents a different pixel pitch, but each config is the same resolution. The difference is how close the pixels are packed together on each panel, which allows the wall to be larger or smaller without changing the resolution. What matters most is how far your audience is from the screen. As you get closer to the wall, there is a point in which your eyes can see the space between the pixels. Each millimeter of distance between pixels equates to 8-12 feet of optimal audience viewing. So, a 2.5 mm wall has an optimal viewing distance of roughly 25 feet. This is where you can save the most money on your wall. Pick the pixel pitch that matches your audience before you pick the size. Typically, the price goes down the larger the pitch, but keep in mind that the resolution will also go down. Before you jump into thinking your wall needs to be 4k in resolution – trust me, it doesn’t. In fact, most audiences won’t be able to tell the difference between a 1080p and 4K video wall in most viewing cases. With a larger pixel pitch, you can create a larger wall and fill more of the space on the stage, without spending the extra money on a smaller pixel pitch.

Let’s think about the mounting structures. A mounting structure is one of the most important aspects of your DV LED wall. Walls can be flown, or walls can be mounted permanently. For hanging walls, a structure strong and sturdy enough to hold roughly 64 panels at nearly 700 lbs is a requirement. The same holds true for installed walls. The wall you choose must be completely flat and level, or the individual pixels of the wall will drift and bend creating what’s called the “Christmas tree effect”, where jagged edges affect the integrity of your image’s lines. The structure may cost more than you expect, but a bad

mounting structure can make even the most expensive LED wall look bad. Don’t skimp on this aspect of your install; this is where I’d always advise you to seek professional help and not try to install it yourself.

Next, is the video wall processor. This device takes the video source coming from your production output and conforms it to your DV LED wall. Let say you’ve chosen a wall that’s not quite 1080p in resolution – since you took my earlier advice and went larger instead of denser. In this case, you will need to scale your sources to match the walls resolution. A processor is needed as the controller, mentioned earlier, rarely has one built in. If you choose to have more than one source on the wall at the same time, you may need a processor that can support PIP or image manipulation. In either case, plan on making room in your budget for an image processor to make sure your video wall looks it’s best.

Lastly, we come to the video signal extender. In most cases, your production system is not directly next to your video wall. Your production happens on the other end of the room, or maybe in a different room entirely. Depending on the distance and I/O of both your production and video wall controller, video quality can degrade over long distances and your output signal to your video wall will not look as sharp as it does on your production monitor. To make up for the distance between your production and your video wall processor, you will need to invest in a signal extender which will take your output signals from you production and route them to your video wall, all without losing video quality.

By investing in Direct View LED, your team will have more opportunities to create innovative content that is an engaging visual experience for your viewers. So, if you’re in the market for a visual upgrade, consider Direct View LED technology! Once you see it in your space, you won’t want to go back!