facebook pixel
How to LED the Right Way

How to LED the Right Way

There was a time, not too long ago, when only the largest organizations with the biggest auditoriums could afford a direct view LED video wall. Sure, there were some cheap LED curtains around, and projection was relatively cheap in comparison, but that only made sense if you had room for rear projection – at least, when it comes to onstage use. DV LED has a myriad of uses and is an additive solution perfect for creating an engaging visual experience. DV LED can be used for more than just duplicating content across other screens. It can be used as an extension of the lighting and staging design to extend content across the stage.

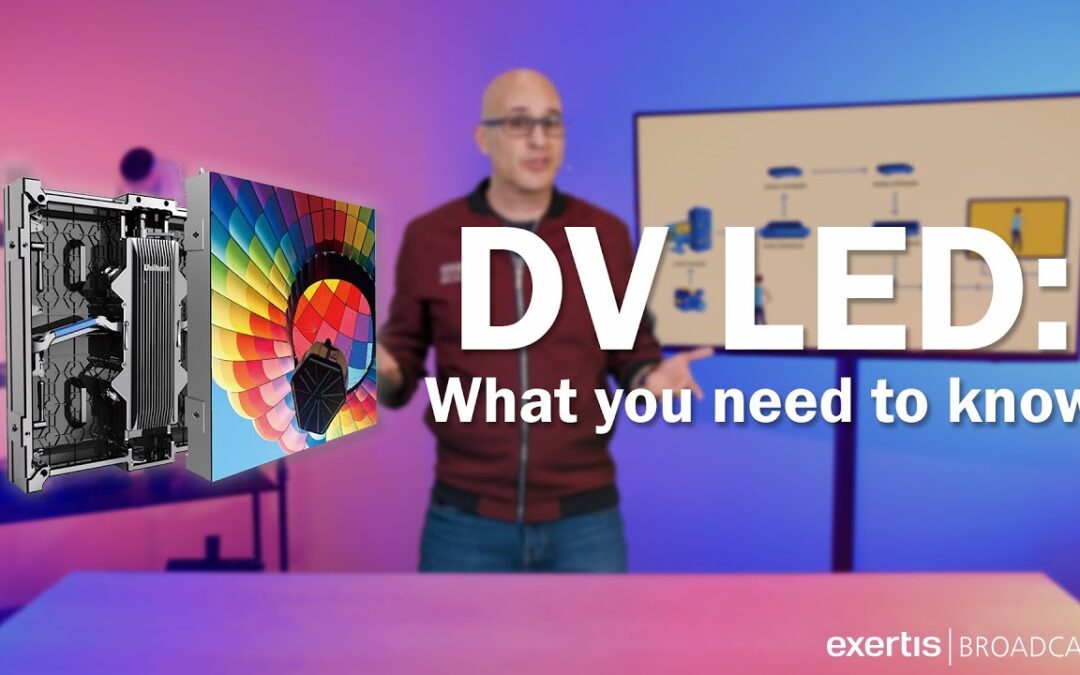
Let’s talk about how DV LED works and what you need to be thinking about if you are interested in using a DV LED 3rd screen in your production.
There are 5 components to a DV LED wall.
 

  1. LED panels
  2. Video Wall controller
  3. Video wall mounting structure
  4. Video Wall Processor
  5. Video Signal extender

DV LED is a giant TV screen built of small cubes – often referred to as LED Panels. Each panel consists of tiny colored LED (light emitting diodes) bulbs that, when used together, can display video. Think of a tightly packed “Lite Bright” –  for those of you old enough to remember. DV LED is constructed using dozens of these cubes stacked on top of each other like Legos until you have a wall large enough to fill the space.

Each panel is defined by it’s pixel pitch, which is the space between each diode on the panel – measured in millimeters. Typically, manufacturers will market them in configures based on this measurement.

Each panel of your DV LED wall is not a separate TV. It’s a section of the overall image. Each panel only displays a few hundred pixels of your overall image, and the image quality improves the lower your pixel pitch. An HD video signal is made of 2,073,600 pixels in total, and you need that many LEDs just to create an HD video wall. Try doing the math on 4K Video Wall and you will understand why prices on video walls increase the lower the pixel pitch is. Each of these panels has a controller card built into it, that is communicating with a master controller box called an LED video controller. This is the box that takes your video source and maps sections of it to each panel of your video wall.

The resolution of your video wall will be determined by the pixel pitch chosen which determines the size of your video wall. As you can see here, each color of panel represents a different pixel pitch, but each config is the same resolution. The difference is how close the pixels are packed together on each panel, which allows the wall to be larger or smaller without changing the resolution. What matters most is how far your audience is from the screen. As you get closer to the wall, there is a point in which your eyes can see the space between the pixels. Each millimeter of distance between pixels equates to 8-12 feet of optimal audience viewing. So, a 2.5 mm wall has an optimal viewing distance of roughly 25 feet. This is where you can save the most money on your wall. Pick the pixel pitch that matches your audience before you pick the size. Typically, the price goes down the larger the pitch, but keep in mind that the resolution will also go down. Before you jump into thinking your wall needs to be 4k in resolution – trust me, it doesn’t. In fact, most audiences won’t be able to tell the difference between a 1080p and 4K video wall in most viewing cases. With a larger pixel pitch, you can create a larger wall and fill more of the space on the stage, without spending the extra money on a smaller pixel pitch.

Let’s think about the mounting structures. A mounting structure is one of the most important aspects of your DV LED wall. Walls can be flown, or walls can be mounted permanently. For hanging walls, a structure strong and sturdy enough to hold roughly 64 panels at nearly 700 lbs is a requirement. The same holds true for installed walls. The wall you choose must be completely flat and level, or the individual pixels of the wall will drift and bend creating what’s called the “Christmas tree effect”, where jagged edges affect the integrity of your image’s lines. The structure may cost more than you expect, but a bad

mounting structure can make even the most expensive LED wall look bad. Don’t skimp on this aspect of your install; this is where I’d always advise you to seek professional help and not try to install it yourself.

Next, is the video wall processor. This device takes the video source coming from your production output and conforms it to your DV LED wall. Let say you’ve chosen a wall that’s not quite 1080p in resolution – since you took my earlier advice and went larger instead of denser. In this case, you will need to scale your sources to match the walls resolution. A processor is needed as the controller, mentioned earlier, rarely has one built in. If you choose to have more than one source on the wall at the same time, you may need a processor that can support PIP or image manipulation. In either case, plan on making room in your budget for an image processor to make sure your video wall looks it’s best.

Lastly, we come to the video signal extender. In most cases, your production system is not directly next to your video wall. Your production happens on the other end of the room, or maybe in a different room entirely. Depending on the distance and I/O of both your production and video wall controller, video quality can degrade over long distances and your output signal to your video wall will not look as sharp as it does on your production monitor. To make up for the distance between your production and your video wall processor, you will need to invest in a signal extender which will take your output signals from you production and route them to your video wall, all without losing video quality.

By investing in Direct View LED, your team will have more opportunities to create innovative content that is an engaging visual experience for your viewers. So, if you’re in the market for a visual upgrade, consider Direct View LED technology! Once you see it in your space, you won’t want to go back!

NewTek | Trade in. Trade up. SAVE!

NewTek | Trade in. Trade up. SAVE!

NewTek-Trade in. Trade up -feature-imag
NewTek live production systems are the most complete live production system on the planet. Software Defined Visual Storytelling allows you to ensure your product always uses the very latest technology.NewTek TC Trade-in-Side-product

If it’s time to replace your system, NewTek wants to ensure that existing users receive the best value, which is why they offer the industry’s leading trade-in program. Save thousands of dollars on your next NewTek product purchase by trading in your older models.

Trade-in offers are available across the entire NewTek portfolio of products.
Find out what your trade-in is worth!

Simply complete the form below and one of our product experts will contact you.

Contact our experts to find out how much you can Save!

Which product will you trade-up to?

Why not trade-in your products for one of the most complete video production platforms available today?

*Interested in trading up to other systems?

Here is a complete list of current products available.
TriCaster® 2 Elite, TriCaster TC1, TriCaster 410 Plus, TriCaster Mini 4K, 3Play 3P2.

NewTek Spark Plus™ IO is On the Bench

NewTek Spark Plus™ IO is On the Bench

NewTek Spark Plus IO 4K offers all types of media production professionals a quick and easy solution that does not require technical expertise, or an enterprise-level network infrastructure to use up to UHD 60p video in IP based media production workflows. Spark Plus IO 4K is compatible with hundreds of systems, devices, and applications that support innovative Network Device Interface technology and is ideal for live production, streaming, sports, competitive and social gaming, corporate communications, classroom production, and more. Say goodbye to cost, cables, capture or display cards, and confusion.

• Versatile UHD encode or decode NDI-HDMI conversion with support up to 2160p 60
• Easily route NDI® to displays, great for digital signage opportunities
• Works perfectly with TriCaster systems for configuration free NDI interoperability
• Hundreds of third-party devices that supports NDI® needing IO connectivity

NewTek logo
Vimeo livestream to facebook

Spark™ Plus IO 4K

NewTek Spark Plus IO 4K are portable, affordable UHD 60p NDI® HDMI media converters. Capture media directly from connected cameras or devices and convert to high bitrate NDI®, or take NDI® streams from the network and convert them for display on screens, monitors, projectors, or video walls. A Spark Plus IO 4K device is the fastest, easiest, and most flexible way to integrate HDMI devices into your IP-based video production workflows from anywhere on the network and avoid the cable length limitations of HDMI.
There is a NewTek Spark™ that’s perfect for you

NewTek’s family of Spark™ Plus IO converters all offer bi-directional conversion from 4K HDMI, 3G-SDI to 12G-SDI. Catering to the full spectrum of video production needs, each NewTek Spark™ offers Tally support, are portable and mountable, and offer the groundbreaking benefits of NDI®.

WORKFLOW DIAGRAM
Click to enlarge.

NewTek Spark Family
Lumens | Ultimate Classroom Simlab Workflow

Lumens | Ultimate Classroom Simlab Workflow

Building the ULTIMATE Simlab with Lumens Gear

Lumens
canon cr-n500 camera
LC200 reflection
VC-TR1 Full HD Auto Tracking Camera
VC-A50P Full HD-60fps IP PTZ Camera

Classroom Simlab for Higher Education

We recently challenged ourselves to build a Simlab workflow for a higher education solution using as many Lumens products as we could. Most workflows require many more manufacturers than just one, but Lumens is more than capable of powering a Simlab, Mechanics Lab, Educational Kitchen, or any other lab environment you can think of.

For this build, the goal was to present lecture content to the in-classroom audience, and, since not every classroom needs it, we’ll focus on the recording of lectures, rather than livestreaming them.

CAPTURE VISION SYSTEM

We’ll start with the heart of the system, the Lumens LC200. For any classroom setting, you have to make sure that the technology will be simple enough for any instructor to operate, but it also has to be robust enough to capture your creative vision. The LC200 has 4 HDMI inputs, 1 HDMI out for program, and one Multiview HDMI out as well. Audio is handled via the 4 dedicated line level inputs, and one line output. Our cameras will all connect to the LC200 via HDMI, and we’ll throw a wireless mic pack into the mix to make sure everyone can hear the lecture – even in the back of the class. Not only is the LC200 going to act as our on-prem video switcher to power our projector, but it will also handle the recording of the lectures.

CAMERAS

There are lot’s of options for Lumens cameras, but the key for this lab are going to be versatility. For the main wide shot, we chose a Lumens VC-TR1 tracking camera. The VC-TR1 comes equipped with 2 lens, one panoramic lens and one telephoto lens. The pano lens is the one that does the subject tracking, so you can be anywhere in front of the whiteboard, and you be confident that you’ll be perfectly framed every time.

We needed an overhead shot for whatever the instructor is working on on the bench. This PTZ camera doesn’t need to have tracking, and it doesn’t need NDI so we went with another IP camera, the VC-A50P. With a 20x optical zoom, the instructor can get as close as they need to see the tiniest details in what they’re working on. We also decided to put a second VC-A50P on a stand off to the side of the instructor that can be used as a side shot, or a student shot when a student is asking a question.

simlab example
EASE OF CONTROL

For the last input in the LC200, we’re adding an HDMI output from the instructor computer, so any slide content can be easily presented in the same ecosystem as everything else.

In the instructor bench, we included the LC-RC01 Remote Control Panel for the LC200, as a secondary, quick and easy way for the instructor to change sources, start and also stop recording and streaming. Again, the easier the implementation, the more likely instructors are to use it.

As another layer of fine control, we added the VS-KB30 IP Controller with Joystick to make controlling the main,overhead and/or side shots simple and straightforward. The instructor can take control of either camera with the joystick, or use one of 255 recallable presets to snap the cameras to whatever angle they need.

Finally, every piece Lumens gear other than the LC200 itself is powered over PoE, so we don’t need to factor in dedicated power or extensions, just a solid gigabit network switch and one CAT 6 cable per device to power and network everything.

TYPICAL LECTURE WORKFLOW

Here’s how a typical lecture will go. An instructor will set dates in their Microsoft Outlook or Google Calendar for when they’re going to be in the classroom. The LC200 will use these dates and times to automatically begin recording and streaming the lecture – all without the teacher even having to think about it. With this control, even instructors who don’t want to touch the tech, don’t have to, but they’ll still have their lecture streamed to off-prem students and archived for later use. Instructors will be able to switch between cameras and their computer-based content with ease, and they’ll be better understood in the moment by their students. All footage recorded by the LC200 can be easily stored on a teacher’s external hard drive, but if you were to put a robust storage solution, like SNS EVO into the workflow, instructors would automatically have their day’s lectures available to them from anywhere in the world. No long upload times, and no personal external drives to worry about.

Lumens has a wide range of robust video broadcast solutions that can revolutionize the way instructors teach in a Simlab. With this workflow, instructors don’t have to choose between engaging either the in-person or remote students, but can engage both audiences concurrently with same level of effectiveness. If you’re ready to build your own ultimate simlab, contact your Exertis Broadcast sales representative, and we’ll be ready to help!

simlab workflow diagram

WORKFLOW DIAGRAM
Click image to download PDF

VS-KB30 IP-Camera-Controller-with-Joystick
LC200 and EVO storage
 laptop on instructor's desk
Canon’s 4K NDI PTZ Camera is On the Bench

Canon’s 4K NDI PTZ Camera is On the Bench

The Exertis Broadcast team put Canon’s CR-N500 (4K NDI) PTZ camera On the Bench and here’s what they found inside…

CR-N500

Canon has over 80 years of experience in optics and image capture, and that experience shows in their latest innovation: The CR-N500.

The CR-N500 produces incredible 4K and HD image quality with the combination of a 1” CMOS sensor and DIGIC DV 6 image processor. These core components provide the image-processing power and speed that enables 4K UHD video acquisition, image stabilization and precise Dual Pixel CMOS AF. On-air pan and tilt movement is possible thanks to the smooth and responsive pan and tilt mechanism equipped with the CR-N500.

Highlighted specs:
  • 1 inch, 4K CMOS sensor
  • 15x optical 20x digital zoom
  • 3 Built-in Neutral Density filters
  • Focal length of 8.3 – 124.5 mm (a 25.5 to 382.5mm 35mm equivalent)
  •  2.8 – 4.5 Aperture, enough for a creamy Bokeh in certain applications
  • 73 Degree Field of Horizontal view, 45 Degrees vertical
  • Dual XLR with phantom power
  • Power over PoE
  • 3G SDI, and 4k HDMI
  • and IT’S NDI HX READY!

Things we thought were most amazing.

Razor Sharp, Fast Focusing on near and far subjects. Fast movements followed by ultra-fast focus. Awesome Low-light performance and amazing color rendering.

We found even more awesome features in the Canon Web UI. LUT support, raw imaging modes, and all the image controls someone who has used a cinema camera or a Canon DSLR would be looking for. This is extremely rare for a PTZ camera. What’s even crazier? It’s priced lower than any other 1” sensor PTZ camera out there. This is what happens when canon takes years of experience and brings it to a PTZ camera.

If you are wondering if Canon has a dedicated controller for this camera, the answer is: Yes – of course they do. It’s what I’ve been using this whole time to control the camera itself. It’s a very responsive and easy-to-use touch screen controller makes tweaking the camera orientation very simple and lets you tap into one of my favorite features easily. That feature is called “trace”. Now, this and most other PTZ cameras have positional presets. Meaning, I push a button in the UI or on a controller that moves my camera to exactly where I want it to be. Trace allows you to record a complex camera movement and then allow you to replay it via a preset. If I want to record a slow pan and zoom across, I can record that movement. Then, move the camera somewhere else, and recall that movement I recorded whenever I want.

Canon-standard components, and a robust feature set aimed at creators who are used to cinematography, make CR-N500 the ultimate choice in PTZ camera. Houses of Worship, theater companies, sports venues, and concert venues could all benefit from the raw power and high fidelity image quality. Plus, camera operators and content creators looking for PTZ functionality with the same quality they’ve come to expect from Canon, need look no further than the Canon CRN-500.

NDI Bridge explained
canon cr-n500 closeup
canon web UI
RC-IP100-remote camera controller

RC-IP100 Remote Camera Controller

Canon’s RC-IP100 Remote Camera Controller provides IP control for up to 99 supported Canon cameras. An additional Canon camera can be controlled through the serial port.

EBP: Why Vimeo Enterprise over YouTube?

EBP: Why Vimeo Enterprise over YouTube?

In this episode of the Exertis Broadcast Podcast, Nick Smith, Rick Puleo, and Matt Bain discuss why organizations benefit from choosing Vimeo Enterprise over other VOD/Streaming Platforms.
Vimeo logo
Vimeo livestream to facebook
NDI Bridge explained

TOP REASONS YOUR ORGANIZATION SHOULD CHOOSE VIMEO ENTERPRISE!
With Vimeo Enterprise, your organization retains control over your content, decides who can watch your content, and what else they see on your company page.

NO UNWANTED ADS
No competitor ads displayed before, after, or around your content.

NO SUGGESTED VIDEOS
No competitor videos displayed anywhere near your content or on your channel.

NO RAMDOM AUTO PLAY
No cat videos to automatically play after your content.

ROBUST ANALYTICS
Know exactly who is viewing your content, from where, and for how long.

BEAUTIFUL BRANDING
Custom branding that makes your channel stand out.

SSO INTEGRATION
Make sure your content is secure to only your audience.

LIVESTREAM ENGAGEMENT TOOLS
Polling, Q&A, Graphic Overlays.

TEAM MANAGEMENT
Manage your team and team permissions.

Bonus: STREAMING CONTROL
Livestream fo Vimeo and then, distribute (recast) the video to YouTube, Facebook, LinkedIn, or any other account via RTMP.

Vimeo’s enterprise tools give you the power to effortlessly and securely share an all-hands, updates, learnings, and more, in real time, anywhere.
vimeo enterprise tools